How to Convert Images in Batch:
If someone send you a picture but you have difficulty identifying its format or finding a program that supports it, you may go back to that person and ask him to save it in a universally accepted format, such as GIF or JPEG. You are a Geek. With VAIS Image Converter, you can convert a wide range of images to any format you need like JPG, PNG, TIFF, PSD, GIF, BMP, etc. It's really an all-in-one solution for those who do not want to waste time searching for different converters to deal with different formats.
1. Input Image
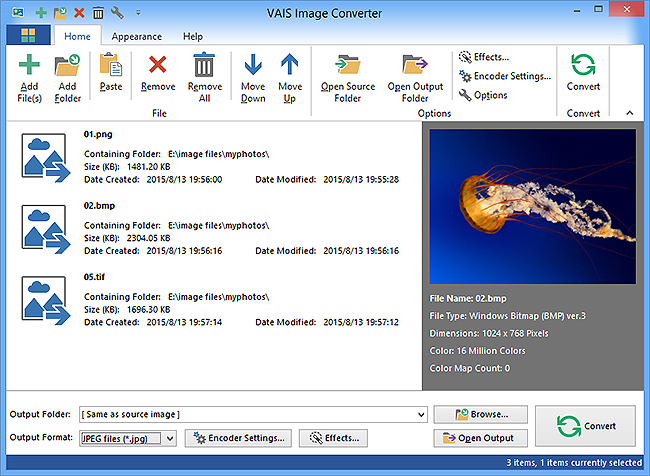
First, you need to download, install and launch VAIS
Image Converter and then click "Add File(s)" or "Add Folder"
to open file picker window in which you can choose the image
files or folder containing image files and click "Open"
to add them into the file list.
Tips: "Drag & Drop" and "Copy & Paste" are supported
for inputting image files conveniently.
The detailed information of each image can be seen clearly
like filename, location, size, date created and date modified.
When clicking on one of the images, you can preview it in
the window on right side with info including file type,
dimensions and color mode listed.
If you want to remove one or all added image files, you
can click "Remove" or "Remove All" button. To arrange the
conversion sequence, you can choose "Move Down" or "Move
Up".

2. Adjust Conversion Settings
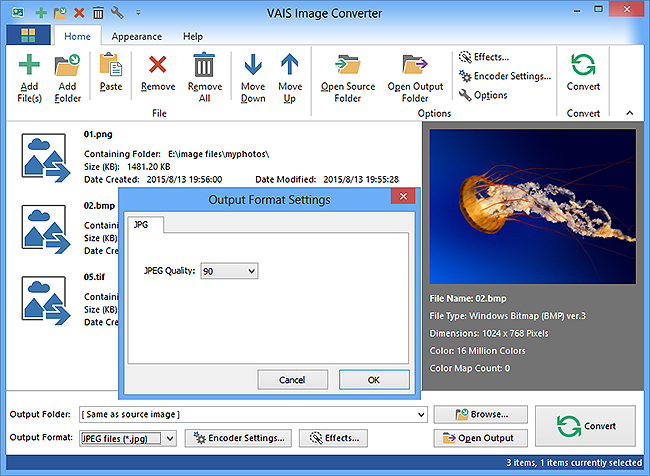
To specify output path for the target file, click "Browse..." and choose an output folder. Or leave it alone and the converted files will be saved in the same folder as source files by default. After that, you can choose the image format in the dropdown menu of "Output Format". Click "Encoder Settings", there you can make adjustments for image compression, quality, color, etc. If you want to resize, flip rotate or add watermark to the image, click "Effects".

3. Start Conversion
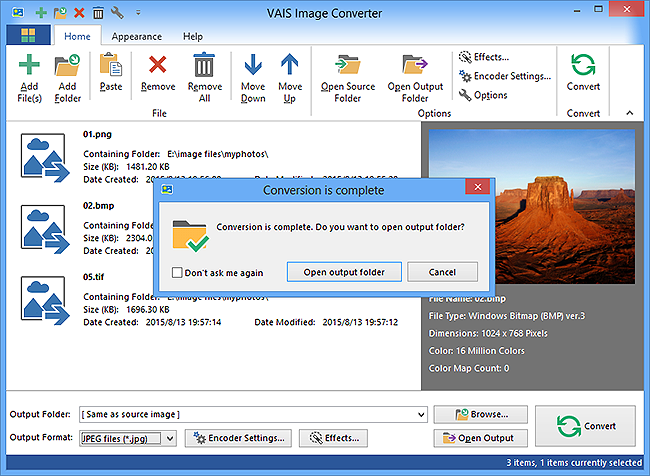
When all the settings are settled, you can simply start conversion by clicking "Convert". You will always be informed with the converting process as a process bar shows. Once the conversion is finished, you can find the converted images directly by clicking "Open output folder" in a popped up window finally.

